

FAQs
Where the questions are as much about chips as they are about labels.
Be sure to keep scrolling!
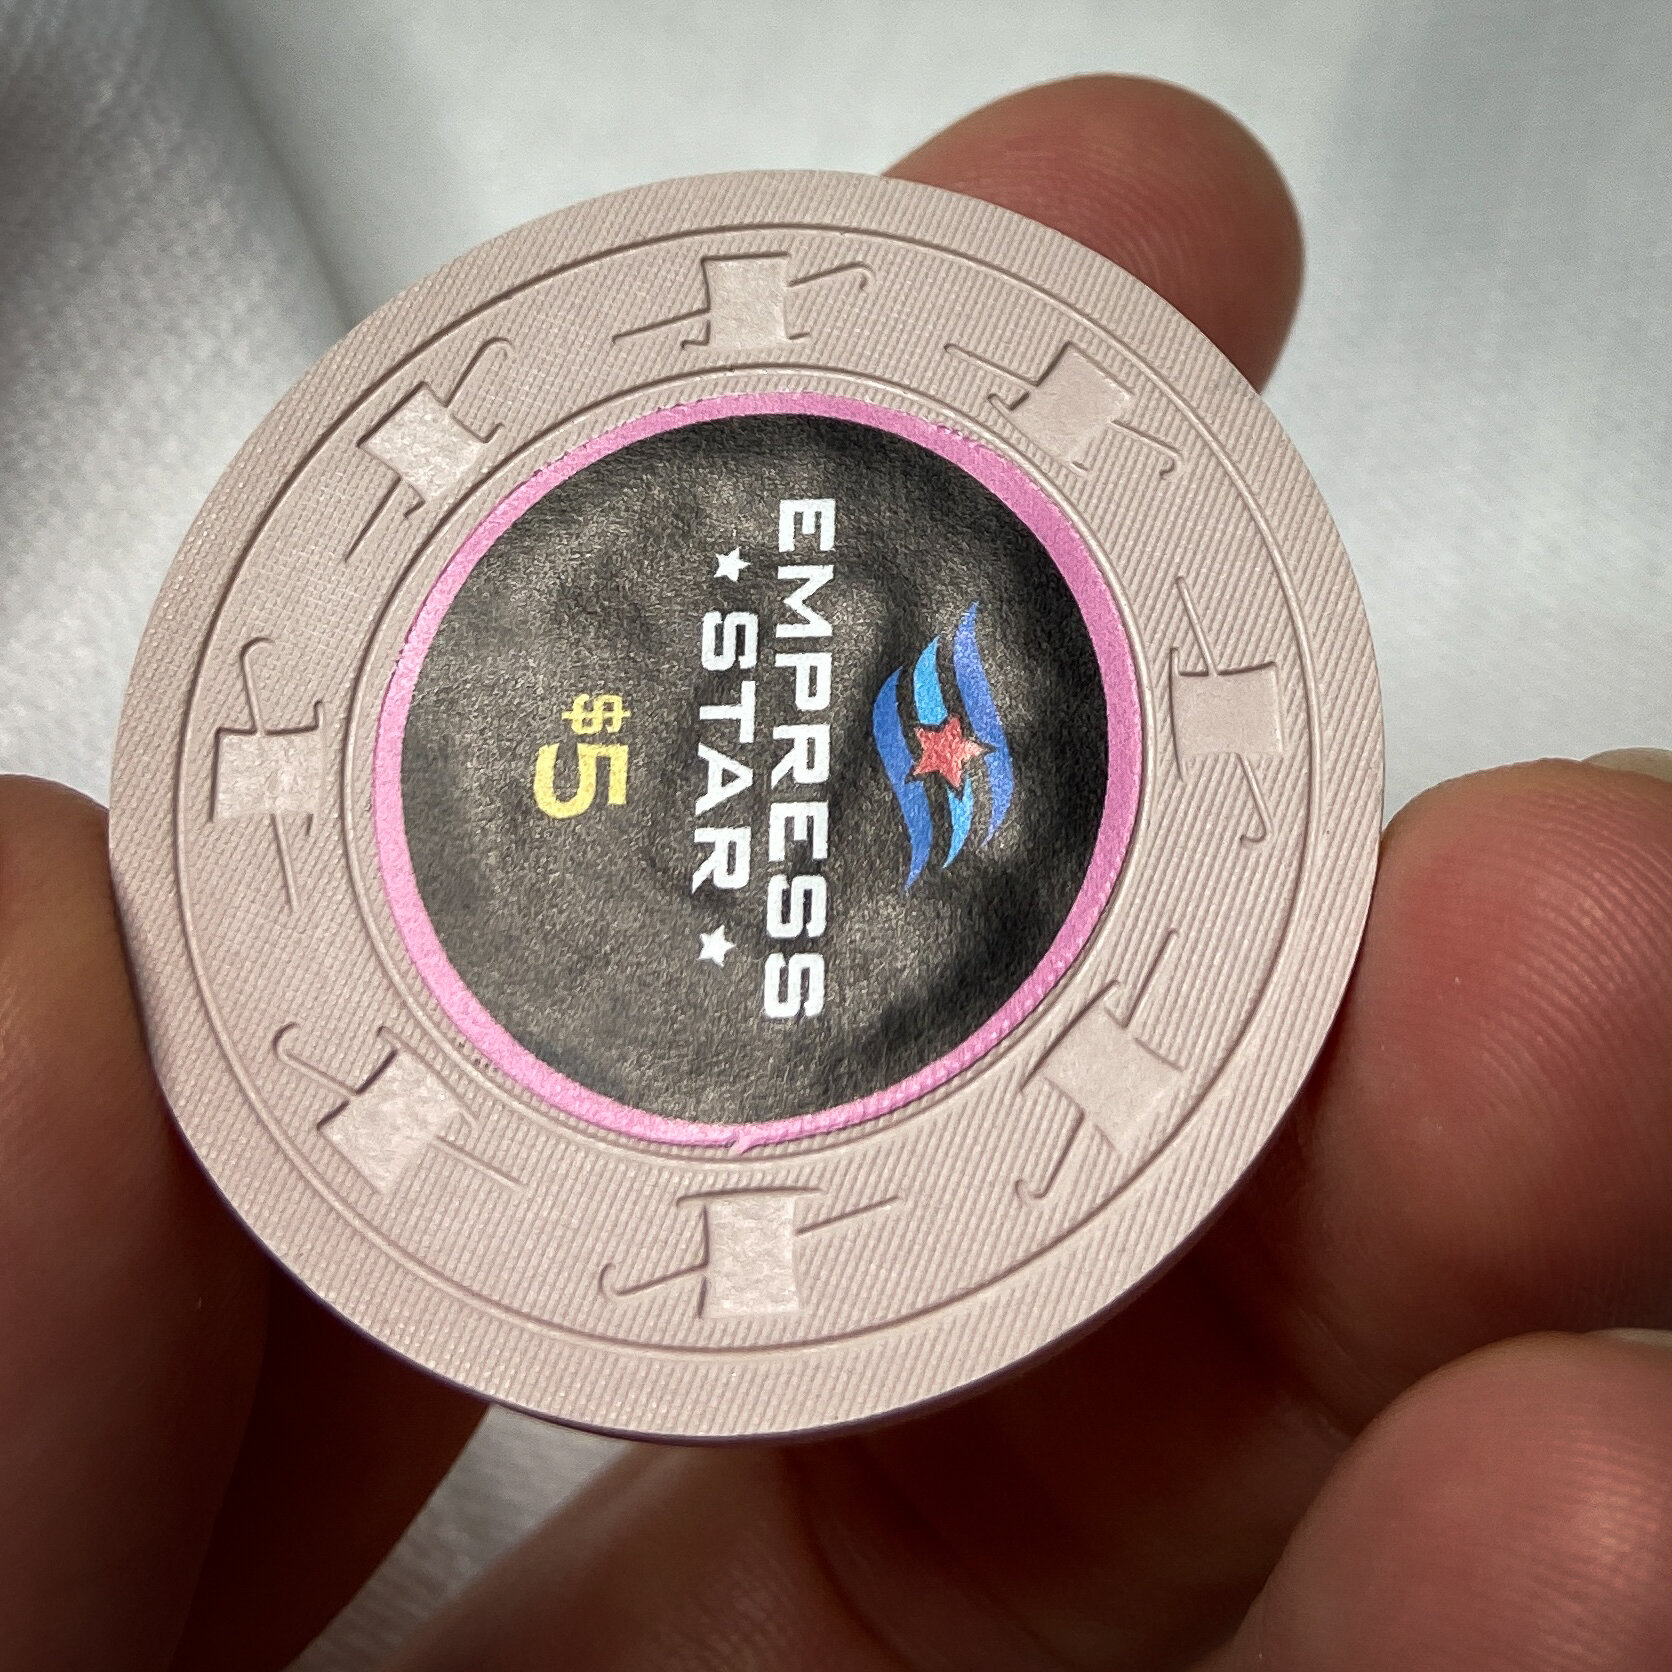
Can hotstamped chips be labelled?
Labelling directly over hotstamps is rarely a good idea, especially with chips/hotstamps in really good condition. The reason is that there isn't enough depth available in the inlay recess to accommodate a label thick enough to adequately hide the hotstamp ridges and indentations.
If the label is thick enough to mask the hotstamp, it's too thick for the recess, and becomes the high point on the face of the chip (with bad results, e.g. stacking and handling problems, spinners, excessive wear, etc.)
If the label is thin enough to fit in the recess, the indentations of the hotstamp will still be visible through the label when the light is right, and probably all the time to some degree.
This is definitely the case when the hotstamps are new or still in pretty good condition. For more worn hotstamps (i.e. more worn chips) the indentations of the hotstamps becomes less prominent… but the problem still remains, because the inlay recess gets shallower as the chip wears over time. That is, the outer mold rim of the chip wears first and fastest, relative to the center part of the chip.
Another reason to avoid labelling directly over hotstamps is that the label has less surface area to adhere to. That is, the ridges and lumps of the hotstamp not only show through the label, but also keep parts of the label away from direct contact with the chip. The adhesion is usually still OK, but it's not as complete as it would be against a flatter/smoother surface.
In the past we have said buyer beware, and warned those who attempt this path as a more affordable route. But as of October 2025 we have decided to flat out decline this work. The outcomes are not optimal and not something we want our name and reputation associated with.

What is chip milling?
It is a way to make a smooth even surface on a hotstamped chip, all the better to apply your label to. We didn’t like how labels made hotstamped chips wobbly and hard to stack. The labels also came off really easy. This was (and is) the main reason why, back in 2011, we posted our idea and examples of successful our experiments with milling chips — at first, with a drill press and a jig. This smoothed the surface of the chip and made a recess to allow for the thickness of a laminated label.
90% of chips milled are still done this way, many people doing it for themselves just like we did. Others have posted on the internet how they do this and the tools they use. Start HERE to begin your DIY journey.
We started milling chips one by one like the above process, but thought there must be a better way. We were talking with Tony at Chanman Poker Tables and he suggested a CNC. That rabbit hole went long and deep… It took us about a year from idea to production. Below is a video of our first machine doing its thing. (VOLUME WARNING: IT’S LOUD)
What is CNC, and why is it different?
Computer Numerical Control is using a computer to move a very small bit across the surface of the poker chip.
This removes most limits when it comes to the size of the inlay being added to the chip, where standard milling is a 7/8” bit doing a plunge cut, often done by hand.
What shapes can you cut?
Any shape, really, as long as it doesn’t have a sharp inside corner.
What's a sharp inside corner?
Basically any corner that comes to a point, with the adjacent sides between 0 and 180 degrees apart.
The reason that sharp inside corners can't be milled with a CNC router is that any rotary tool has a minimum diameter. We use a 1/16” bit, which means cuts cannot have a radius any smaller than 1/32” — and sharp inside corners don't have a radius at all.


Can you convert my 7/8” recess to a 1” or RHC by milling?
No, not really.
That is, yes, it’s technically possible, but getting sufficiently good results takes way too much fiddling around, especially on inlay areas we didn’t mill in the first place. Doing one chip might seem plausible, but scaling up that time and effort to production levels just isn’t practical. There is too much variability. (Same goes if you have an RHC and want to add a shape.)
That being said, we can take a chip with a mis-shapen inlay and make it consistent enough to allow for labelling. They won’t be perfect, but they will be better than they were before.
I had my chips shaped milled elsewhere, what information do I need to provide to get labels to fit?
We will only cut shaped labels for chips that have been shaped milled by us.
Are there any styles of chips you won’t make labels for?
Any chips that are known for having irregular or misshapen labels, which leaves an irregular inlay space that we can’t match with any accuracy.
Some of these chips are fine to apply an unlaminated label on top of the factory original, but once that factory original label is removed we will not knowingly make labels for you.
Hot stamped chips that have not been milled
Thick Laminated labels for Paulson Chips, milled or inlay removed.
Paulson Top Hat and Cane - Roulettes
Paulson RHC Promo Chips
Chips that have had their inlays removed with a drill press instead of by hand
Any chips with oversize labels that go outside the mold’s standard inlay space.
Any chips with full face lamination. (Most Crystal Park chips)
Overlabels for chips that have already had their manufacturers' original inlays removed either by milling or by hand.
Overlabels for Paulson 48mm “Fat Hats” unless you plan to use an Air-Tite to protect them.
Is it OK to oil my chips with your labels?
If so, should I do it before or after the labels are applied?
Either one is OK, as long as you give the adhesive time to set before oiling, or give the oil time to dry/absorb before labelling.
Generally, our preference is to label first, then oil. Waiting for the oil to dry or absorb into the chip will take longer than waiting for the adhesive to bond well.
Here's the longer answer...
LABEL FIRST, THEN OIL:
1. Clean the chips — with TSP, ultrasonic, Dawn, whatever's appropriate for the chips — then rinse them well, with clean water.
2. Let the chips air-dry on old towels for a few hours, or overnight if you have the time and space. (YMMV depending on local temperature and humidity.)
3. Once the chips are fully dry, apply the labels.
4. Wait 1-2 days, to give the adhesive time to really set. Longer is better, but overnight at a minimum. (Again, YMMV based on local conditions.)
5. Oil the chips, wiping off any excess reasonably soon. Avoid leaving large amounts of oil on the chip faces, i.e. near the edges of the labels. They should be OK most of the time, but why risk it?
6. Enjoy!
— OR —
OIL FIRST, THEN LABEL:
1. Clean the chips — with TSP, ultrasonic, Dawn, whatever's appropriate for the chips — then rinse them well, with clean water.
2. Let the chips air-dry on old towels for a few hours, or overnight if you have the time and space. (YMMV depending on local temperature and humidity.)
3. Once the chips are fully dry, oil them using whatever method you prefer.
4. Wait at least 4-5 days to give the oil time to leave the surface of the chip. (It will be drawn further into the clay over time.) Wipe them down if you like, but try not to leave any lint on the surface to be labelled.
DO NOT label the chips until the surface is DRY to the touch.
5. Label the chips.
6. Enjoy!
Lastly, there are some useful comments from various PCFers on the subject, in the later pages of this thread.